Core Series Print Issues quick guide resolution
Print Created by: Joel HrachovecCore Series Print Issues quick guide resolution
| Print Issue | Resolution |
|
Print Failure |
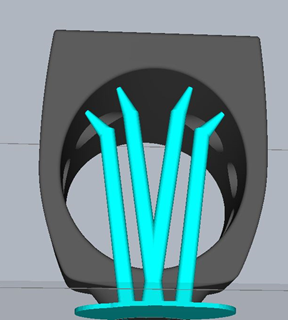
The #1 cause of print failures is incorrect supports and/or orientation issue. Orientation, Support and Design Guidelines Video Tutorials |
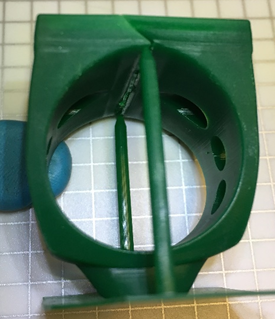
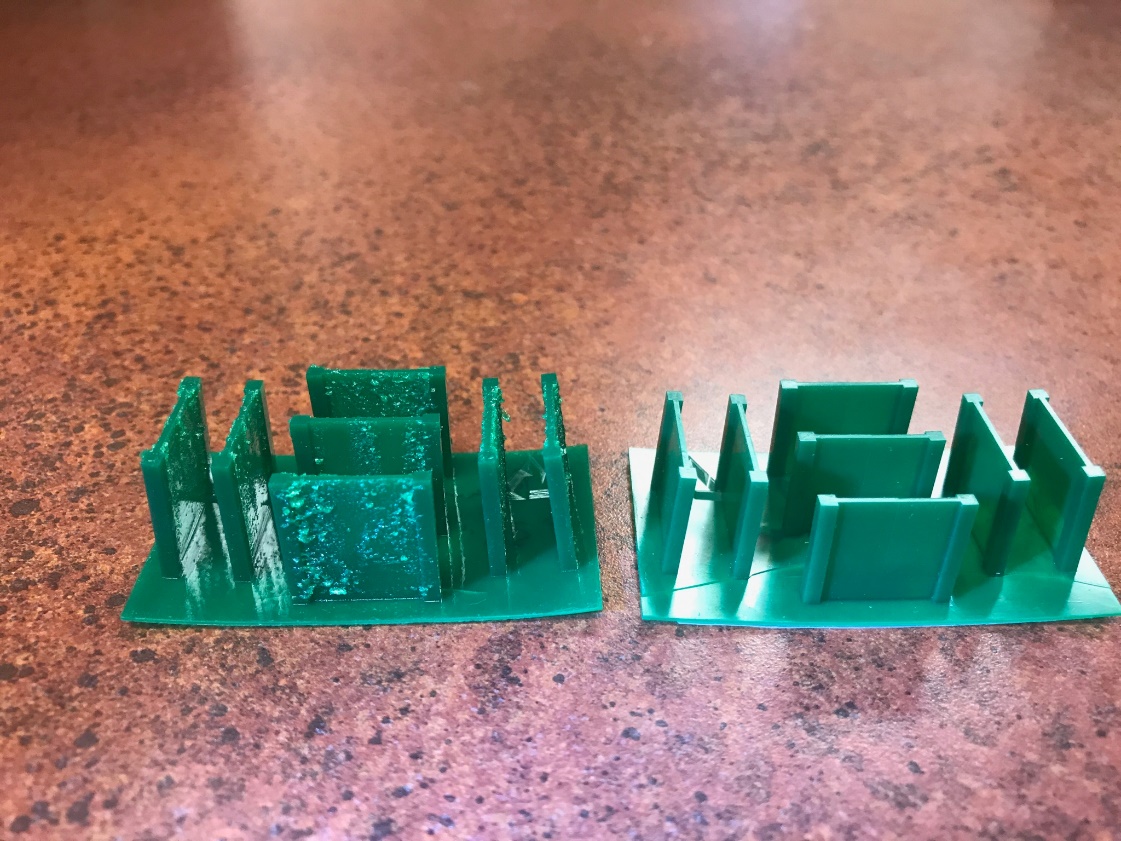 Roughness on a Print – cured flakes and/or lumps of resin attached to the model. This can occur with all resins. Roughness on a Print – cured flakes and/or lumps of resin attached to the model. This can occur with all resins. |
|
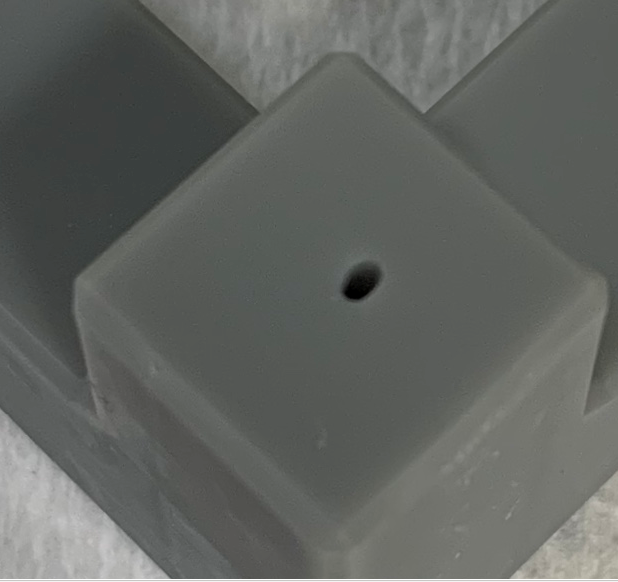
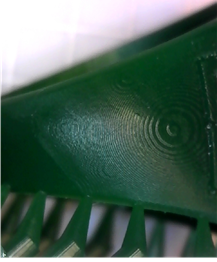
 Surface finish roughness near the signet head. Surface finish roughness near the signet head. |
Orientate at an angle which reduces the surface area being printed. |
|
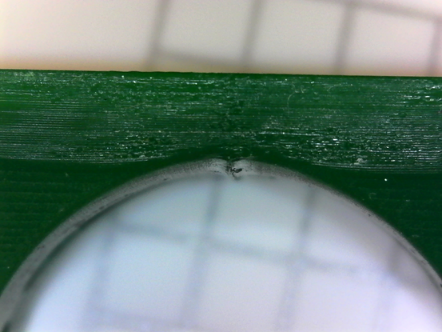
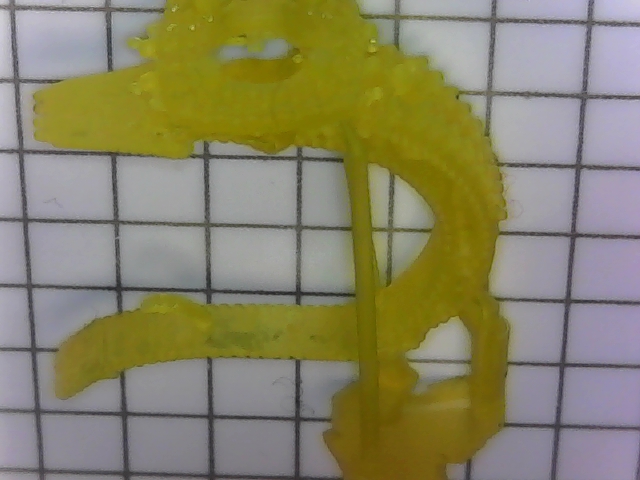
Split at top of signet ring |
Place supports along the arch. Do not include a support at the top center. |
|
|
Assure Isopropyl alcohol has been dried prior to cure. |
|
Particles in the resin can attach to models during printing. |
Filter resin if particles are present. |
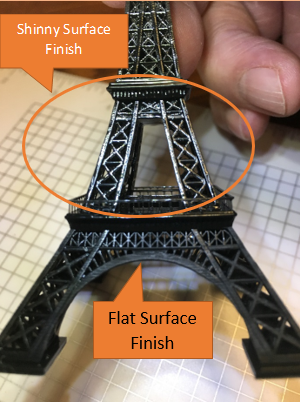 Shiny surface finish Shiny surface finish |
Clean all residual resin prior to cure. |
 Post cure cracks in design. Post cure cracks in design. |
Reduce cure time. |
|
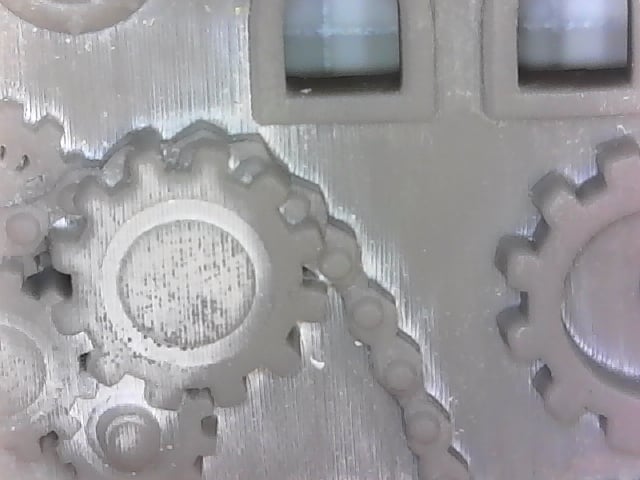
Grow lines on non-vertical surfaces |
Slice for Surface Finish |
 Top View Top View |
Pocketing" or "Cavitation Occurs on a horizontal flat surface layer. This is occurring when models have large surface areas and there isn't enough resin to push to the middle of the prints fast enough before the next layer is printed. Essentially, they are "air pockets" caused by a lack of liquid resin reaching these points. Remedy: This can be fixed by adding more resin into the DuraVat, though not above the max line so that the resin has enough "weight" to push itself quicker under those freshly printed layers. Another fix is to space out the parts enough to allow for the resin to flow easier to these models as they are being printed. Prevention: Unfortunately, the only way to know if the correct amount of resin was poured in the DuraVat and that the models were placed in spots to allow for proper flow is to have printed the model and check for "pocketing." Just be sure to pour enough resin in each time and you will have to experiment based on the shapes and sizes of the models on where to place them on the build table. Another option is to angle the design which reduces the surface area being printed. |
 White surface discoloration
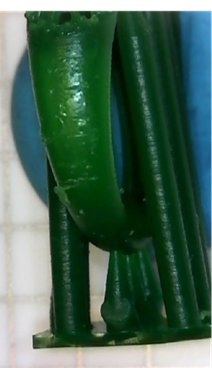
Need additional assistance? Submit a ticket and we will be glad to help you!
pdf (1.01 MB)
 Updated by Matthew Glover 12/2/22