Printer Network Connections
Print Created by: Leonor Beranek
Connecting over Wi-Fi
-
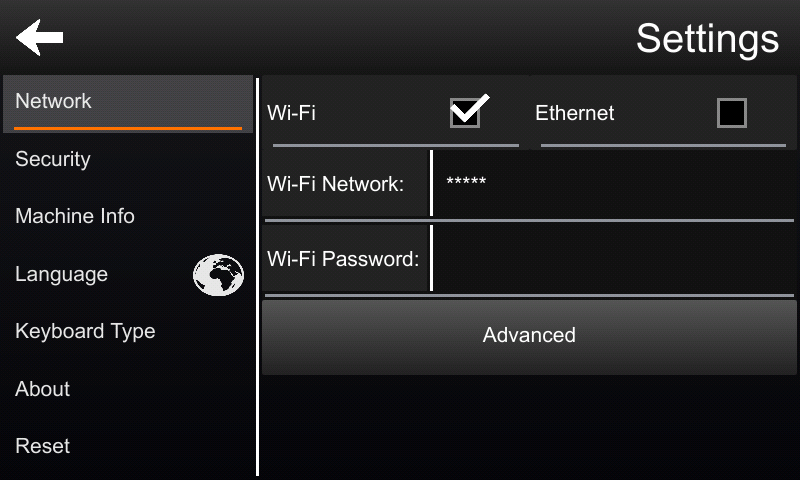
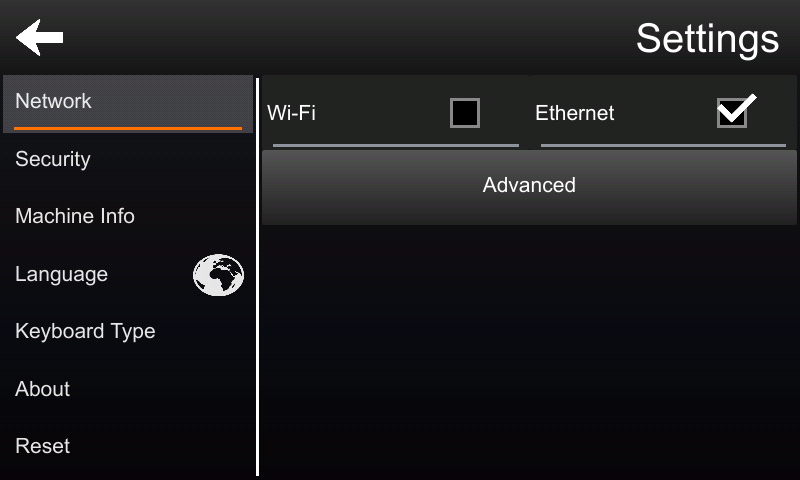
Go to the settings page.
-
Select Wi-Fi as shown above.
-
Select the Wi-Fi network by pressing the black box to the right of “Wi-Fi Network”
This will open the following window.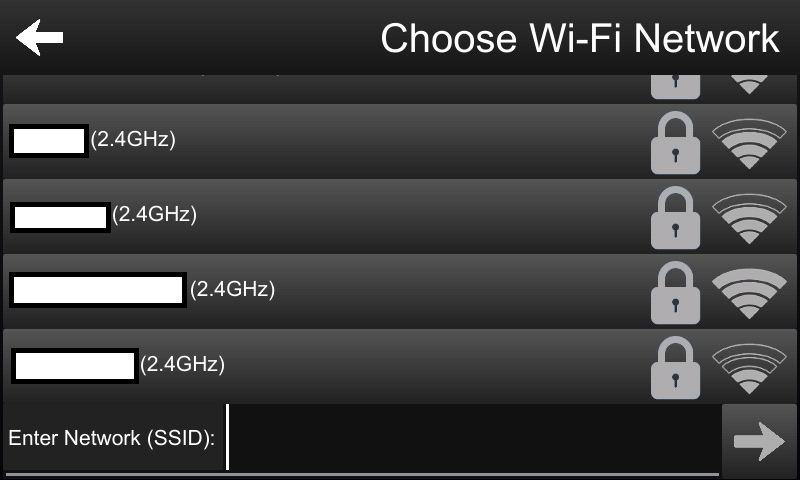
-
Select the name of the network to connect to.
-
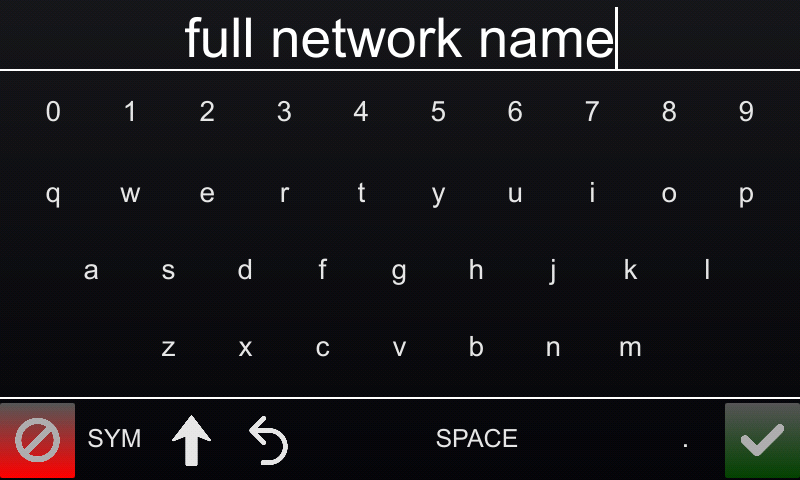
(OPTIONAL) If the network is set to not broadcast for devices to connect to it. The name of the network can be manually added using the “Enter Network (SSID):” field available at the bottom of the Choose Wi-Fi Network list.
-
Enter a password by pressing the black box to the right of the “Wi-Fi Password:” field.Page Break
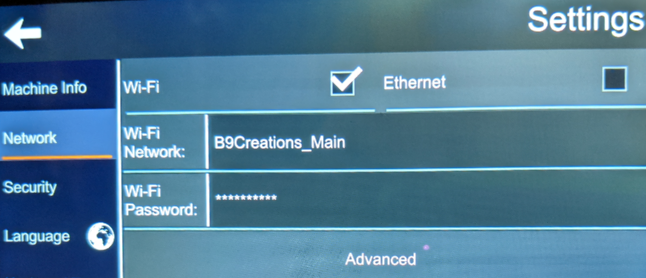
If the printer is connected to a network but not visible in the B9 Create 2.0 software
-
The computer running the B9 Create software must be on the same network as the printer, as shown below.

-
Additionally, if the Wi-Fi signal is weak, the B9 Printer will not be able to have a stable connect to the software on the computer.
Connecting Via Ethernet cable
-
Go to the settings page.
-
Select Ethernet
-
Confirm that the Ethernet cable is connected to the back of the printer.
-
Confirm that the same Ethernet cable is also connected to a network router.
Note: The B9 Printer can only talk to a computer via a Lan network which routers create. It CANNOT be plugged directly into a computer.
General Symbol Information
-
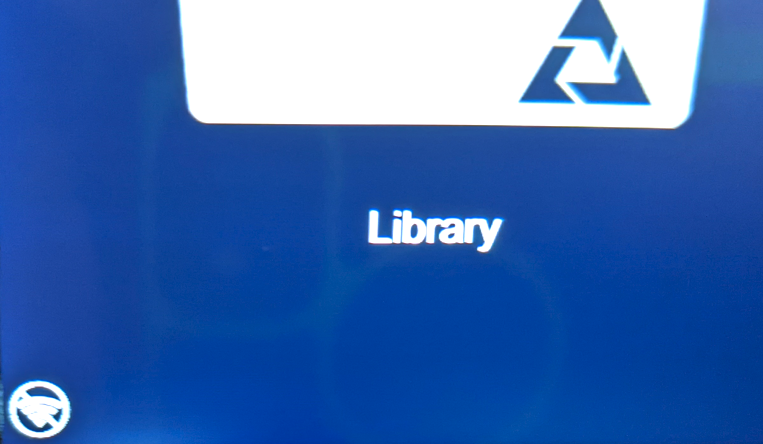
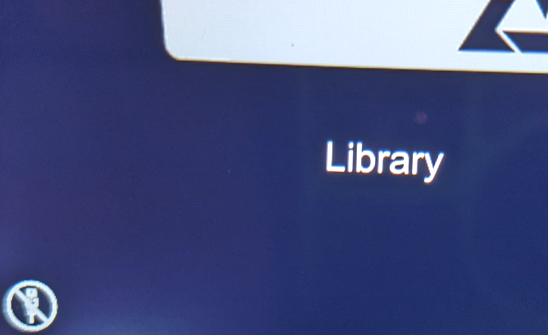
This symbol in the bottom left corner of the main screen shows if the Wi-Fi or Ethernet is connected. The following means the B9 Printer is in Wi-Fi mode but not connected.
-
This symbol means the B9 Printer is in Ethernet mode but the Ethernet Cable is not connected to a router.
-
This symbol means the B9 Printer is connected to a network via Wifi at full signal strength. The number of white bars in the Wi-Fi indicator show how strong the signal is.

-
A cable symbol means the B9 Printer is connected to a network via Ethernet cable, and the Ethernet cable is from the B9 Printer to another device. If the B9 Printer has an IP address, it is correctly connected to a router.
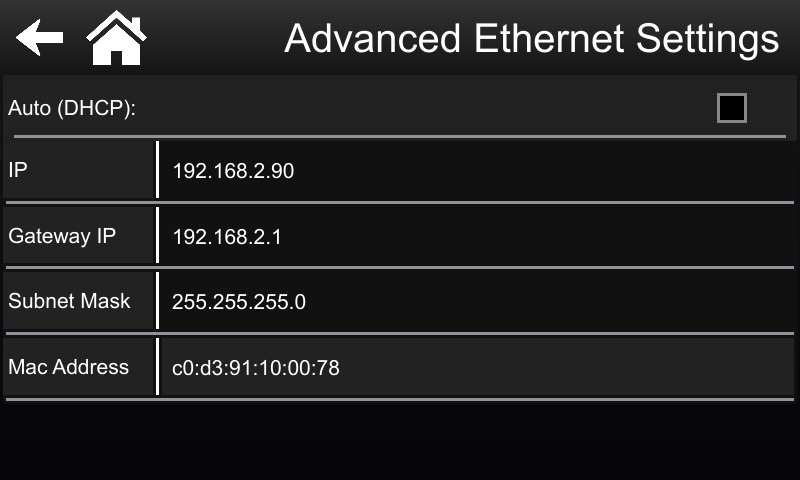
If there is still an issue connecting the B9 Printer to a network, advanced settings are available.
-
It is advised to confirm that “Auto (DHCP):” is checked and to only use DHCP to connect the B9 Printer to the network.
If the network must be manually entered all the necessary fields are editable when DHCP is turned off. Good Luck.
L Leonor is the author of this solution article.
