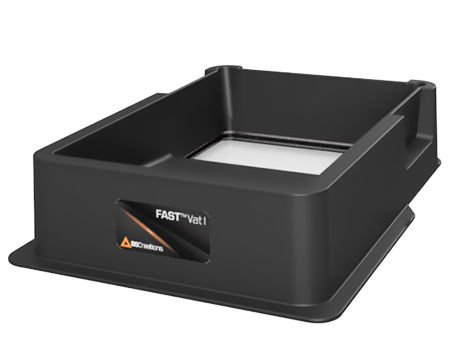
FastVat Operating Procedure
Print Created by: Leonor BeranekFor best quality prints at thinner Z resolution settings, it is necessary to ensure that the FastVat is clean and clear of any cured materials, smudges, or residues before printing.
Post Print Cleaning Procedure
1. After the print has finished, remove the build table and FastVat from the printer.
2. Carefully remove the print from the build table using the provided plastic blade and print scraper.
3. Inspect the resin for visible particles. If any particles are seen, strain the resin back into a bottle using the provided funnel and strainer. We do not recommend pouring used resin into a container of new resin. Complete the FastVat Cleaning Procedure before attempting your next print.
4. If no particles are visible in the resin you may proceed with your next print.
5. Insert the FastVat and clean build table into the printer to resume printing.
FastVat with Resin Storing Process
1. Hold the FastVat at an angle so that the resin will flow away from the window. The entire window should be free of liquid resin to ensure that there is no cured print or particles left behind by the previous print.
2. If residue from the previous print appears as a “ghost image” on the film, gently wipe off the residue with a clean, debris free microfiber cloth saturated with high grade isopropyl alcohol. Be careful to avoid scratching the window film.
3. Set the FastVat on a stable, level surface. Place the lid on the FastVat until the next print.
FastVat Cleaning Procedure
An unclean vat can lead to many print complications. Ensuring a clean vat is vital to ensuring optimal operation of your B9 Printer. Specific instructions for avoiding damage to your FastVat while cleaning can be found here.
Full or partial print failure
1. Remove the resin from the FastVat. Remove remaining resin with isopropyl alcohol
from the aperture window.
2. Apply a generous amount of Isopropyl alcohol around the print perimeter and wait 15 to 20 minutes to allow the alcohol to penetrate underneath the print.
3. Using the spatula, press gently against the edge of the print. Gradually increase pressure until the print begins to slide.
4. If the print remains stuck, soak the print in Isopropyl alcohol until the print begins to slide.
5. Complete the Post Printing and FastVat cleaning procedures