B9Creator Z Axis Motor Replacement
Print Created by: Joel HrachovecB9Creator Z Axis Motor Replacement
Summary: This document will instruct you how to remove the z-axis motor for replacement.
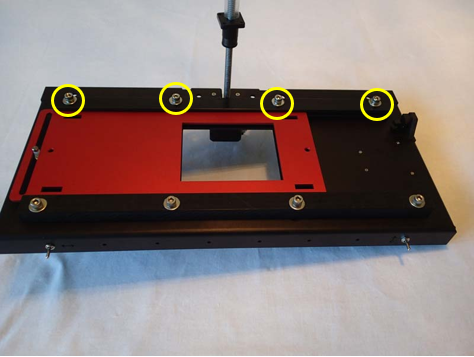
1. Remove the 4 screws that hold the gold arm to the black nut
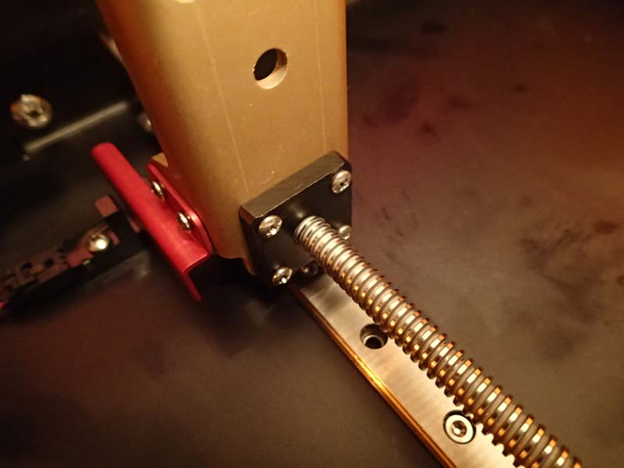
2. Remove the 4 hex screws that hold the gold arm to the slide bearing. And remove the gold arm completely from the machine. Caution: ensure the slide track does not slide off the rail or the bearings will be released!
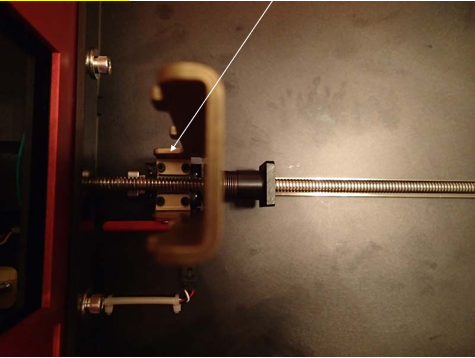
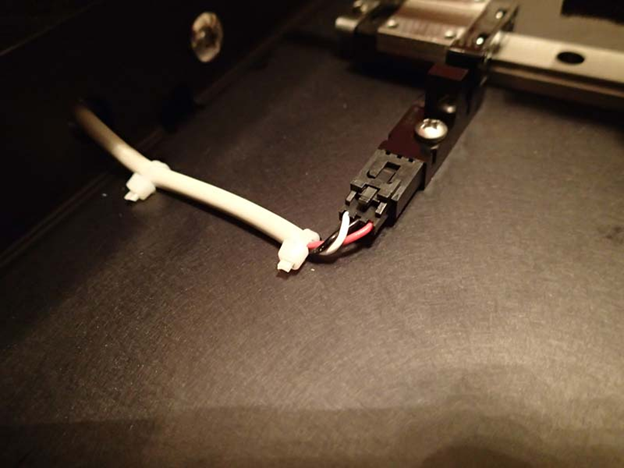
3. Next remove the 2 zip ties that hold the z-axis home sensor cable in place. Then remove the cable from the sensor and pull the cable out through the hole at the bottom of the z-axis backplate.
4. Remove 6 screws on the inside of the hatch hinge, then remove the hatch and set it to the side.
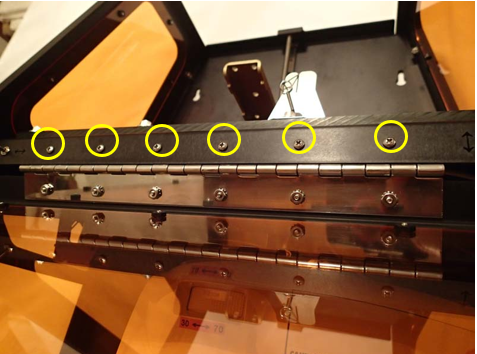
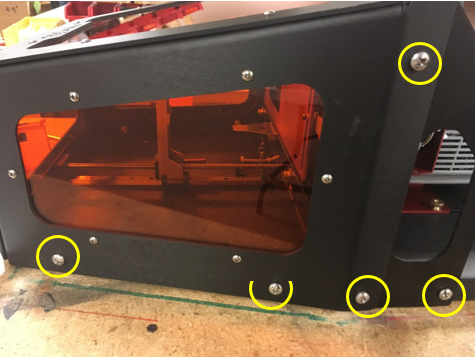
5. Remove the 5 screws highlighted below on both sides of the machine. Once removed you can now remove both side window assemblies as well as the side supports.
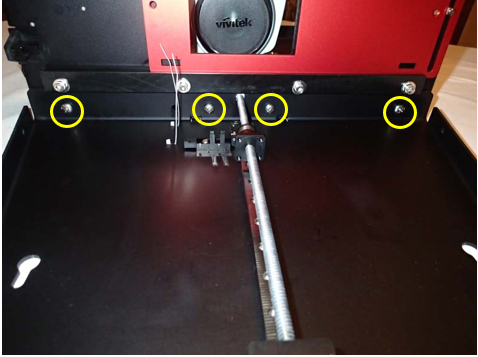
6. Remove the 4 screws that hold the 3 major sections together.
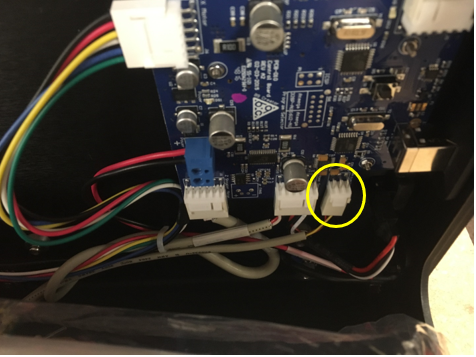
7. Remove the RS232 cable from the PCB end and move the cable out of the way.
8. The 3 major sections are now separated. Remove the x-axis section and set it on a flat surface and remove the 4 screws to the back Delrin rail, remove it and set it to the side.
9. You can now access the 4 screws that hold the z-motor in place.
pdf (964 KB) J Joel is the author of this solution article.
