B9Creator X Motor Replacement
Print Created by: Joel HrachovecB9Creator X Motor Replacement
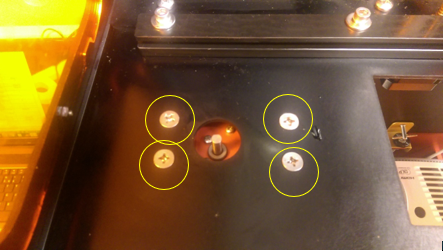
1. Unplug the power and USB connection from the printer. Then remove the 4 hex cap screws on the front rail to allow for easier access during disassembly.
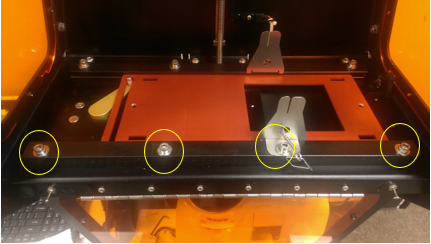
2. Remove the red aluminum tray.
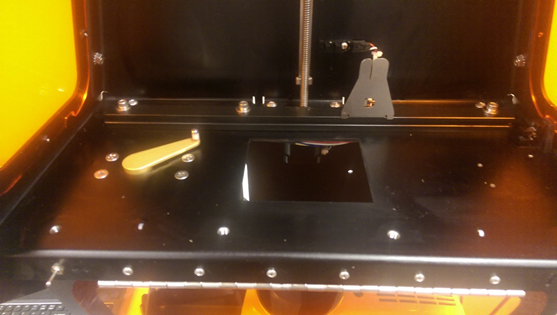
3. Loosen the 2 set screws that hold the gold arm to the x-motor shaft. Once they are a slightly loose, the gold arm should slide off at the top.
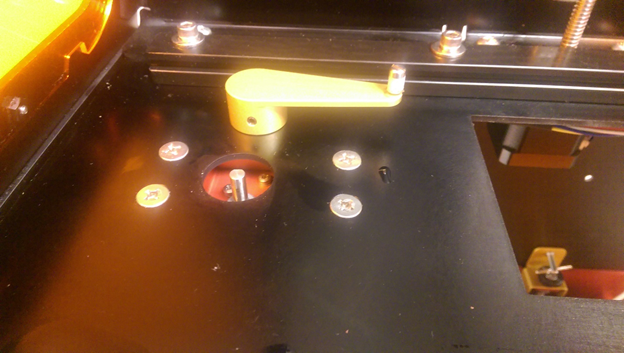
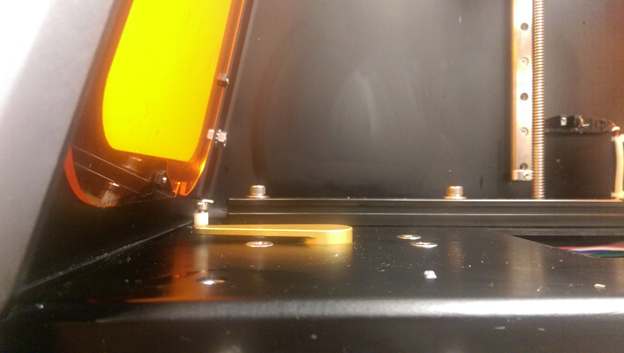
4. Remove the 4 screws and hex nuts that hold the x-motor assembly to the x-axis.
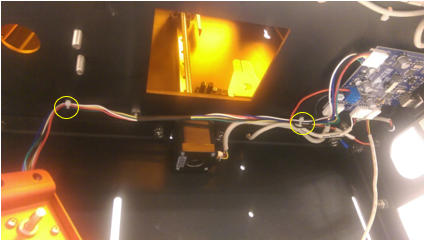
5. Pull the X-Motor assembly off of the screws. You will now need to clip the 2 zip ties and remove the connection to the PCB to fully remove the X-Motor from the machine.
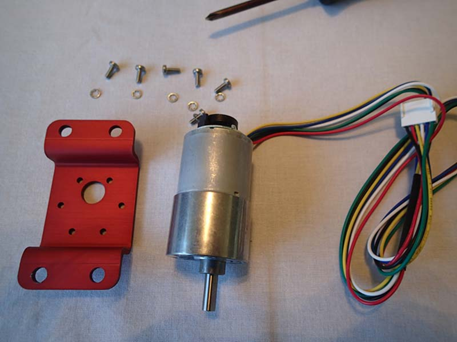
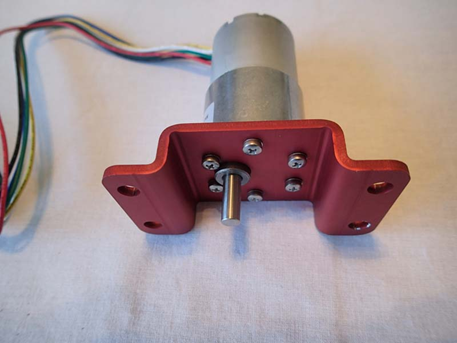
6. Remove the 6 screws to detach the x-motor from the red motor attachment plate. Once this is done, you can attach the new motor.
7. Reverse these steps to reassemble:
- Bolt the x-motor back to the x-axis plate
- Connect the x-motor connector to the circuit board
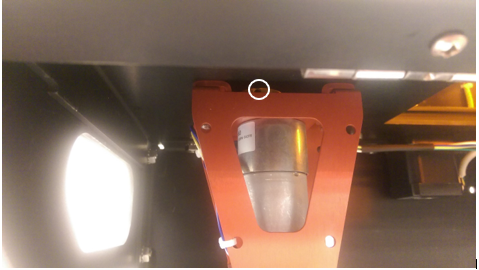
- Slide the gold arm back over the x-motor shaft and tighten the 2 set screws. Make sure there is a small gap between the gold arm and x-axis plate to ensure the gold arm does not contact the x-axis plate as it rotates (see picture below).
- Align one screw with the flat section of the X Motor Shaft and then tighten both screws.
- Add back in the red plate
- Bolt down the front slide rail.
Once back in place, you can test the x-motor for functionality by plugging in the machine and using the toggle switch. Now you are ready to calibrate the build table and begin printing!
B9Creatror 1.0 and 1.1 Printer Specific Settings
Note: If you own the B9Creator 1.0 or 1.1 the settings will need to be adjusted to Slide Full Open Position = 3100

pdf (963 KB) J Joel is the author of this solution article.
